
Key Takeaways
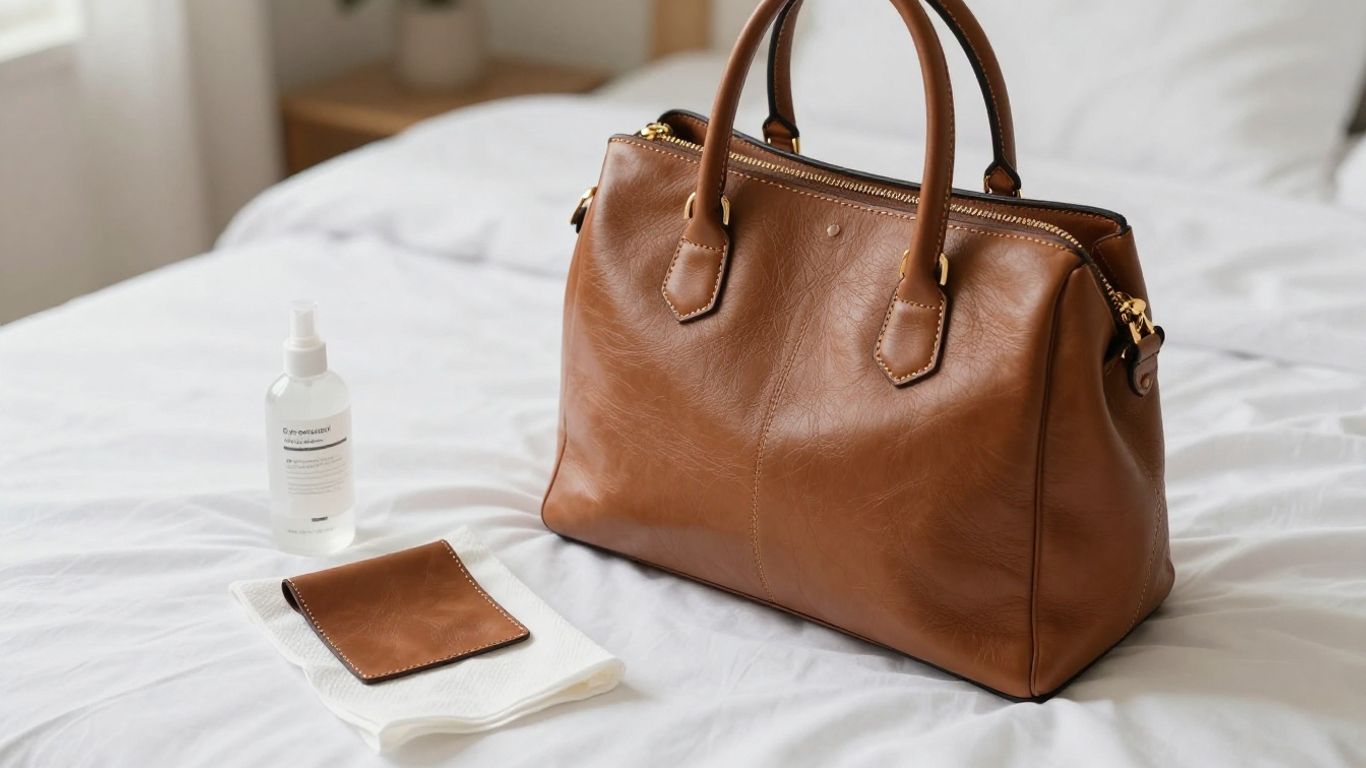
A leather handbag usually responds best to less moisture, less friction, and more patience. Before you clean, identify the finish and test every product in a hidden spot.
- Check the care guidance and leather type before applying anything.
- Use a soft cloth, a compatible cleaner, and very little moisture.
- Patch-test the method and wait for the area to dry.
- Blot stains gently instead of scrubbing or spreading them.
- Condition, protect, and store the bag only after it is completely dry.
- Identify the leather and assess the handbag’s condition
- Gather gentle cleaning supplies
- Test the cleaning method before treating the bag
- Clean the leather handbag step by step
- Treat common stains without damaging the finish
- Condition, protect, and store the handbag properly
- Conclusion
- Frequently Asked Questions
- Can you clean every leather handbag at home?
- How often should you clean a leather handbag?
- Can water damage a leather handbag?
- What should you do if leather dye comes off on the cloth?
- Is household soap safe for leather?
- Can a hair dryer dry a wet leather handbag faster?
- Should you condition leather after every cleaning?
Identify the leather and assess the handbag’s condition
The safest answer to “How to Clean a Leather Handbag Without Damaging the Finish” begins before you reach for a cloth. Leather can be coated, textured, glossy, unfinished, or combined with fabric and other materials. A method that suits a finished leather bag may permanently change suede or nubuck. Spend a few minutes identifying what you have and deciding whether home cleaning is sensible.
Check the care label and manufacturer’s instructions
Look inside the bag, beneath a pocket, or on the original packaging for care information. If the maker specifies a cleaner, conditioner, or professional service, follow that guidance over general advice. You can also search the exact model and material on the manufacturer’s official website, especially if the bag includes painted edges, bonded panels, or unusual hardware.
If the instructions are missing, take photographs of the bag and note its material, age, and previous treatments. That information will help a professional give you more useful advice later. A little research is often cheaper than correcting a damaged finish.
Distinguish finished, suede, nubuck, and patent leather
Finished leather often has a protective surface coating and may tolerate careful wiping. Suede and nubuck have a nap that can flatten, darken, or become patchy when wet, while patent leather has a glossy coating that can react badly to solvents and friction. If you cannot confidently identify the surface, treat it as delicate rather than guessing.
A bag made from more than one material needs an equally cautious approach. The leather, lining, trim, adhesive, and dye may not react in the same way. For broader background on material differences, this leather care guide is a useful companion, although the manufacturer’s instructions remain the first reference.
Inspect for stains, scratches, peeling, and color transfer
Empty the bag and examine it in bright, indirect light. Look for loose dirt, water rings, denim transfer, ink, grease, rubbed corners, surface scratches, peeling, and places where the color already looks uneven. Photographing the bag first gives you a simple record of its starting condition.
Pay special attention to cracking or lifting around handles, piping, and corners. Cleaning cannot repair structural wear, and moisture may make a weak area fail faster. If the surface is already flaking, stop treating it as an ordinary stain.
Recognize when professional cleaning is the safer choice
Professional help is the safer route for valuable, vintage, sentimental, heavily stained, or unidentified bags. It is also wise when ink has soaked in, color has transferred across a large area, the leather is peeling, or the bag has delicate embellishments. A professional may still decline a risky treatment, but that is better than an irreversible home experiment.
When a bag needs specialist attention, avoid trying several products first. Each application can alter the finish and make later assessment harder.
Gather gentle cleaning supplies
Set everything out before you begin so you are not searching for tools with a damp cloth in hand. Choose clean, colorfast materials and products made for the type of leather you identified. Your goal is controlled, light cleaning rather than soaking the bag.
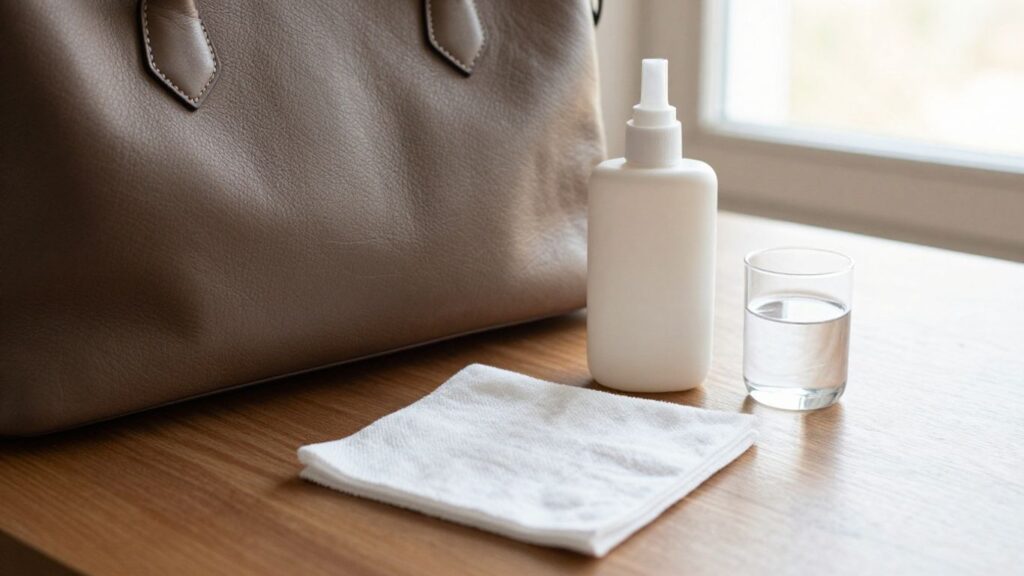
Choose a soft cloth and appropriate leather cleaner
Use a soft white or pale microfiber cloth that will not shed dye or leave lint. Select a leather cleaner whose label matches the bag’s material and finish; do not assume that a product described as “for leather” suits suede, nubuck, patent leather, or coated surfaces.
If you are comparing prices, Promo Deals brings offers and price drops together so you can look for a suitable cleaner without treating the lowest price as the deciding factor. Product compatibility, a clear ingredient list, and reputable care instructions matter more than a bargain.
Prepare distilled water and mild soap for limited use
Keep a small amount of distilled water nearby for lightly dampening the cloth, not for wetting the bag. If the manufacturer permits mild soap, dilute a tiny amount well and use it only for a limited spot or surface area. The cloth should feel barely damp when you touch it.
Avoid making a cleaning mixture in a bowl unless you can control the amount precisely. Excess liquid can travel into seams, lining, glue, and edge paint.
Avoid alcohol, bleach, vinegar, and household wipes
Alcohol, bleach, vinegar, acetone, disinfecting wipes, and multipurpose cleaners can strip color, dry the leather, soften coatings, or leave a visible ring. Household wipes may also contain fragrances and surfactants that are not intended for finished leather.
Do not use a kitchen sponge, rough towel, abrasive eraser, or stiff brush on a smooth finish. Even a product that seems mild can create a polished patch or remove color when paired with pressure.
Protect hardware, lining, and delicate embellishments
Cover or shield metal hardware with a dry cloth while you work, and keep cleaner away from crystals, beads, embroidery, painted details, and exposed edges. If the lining needs attention, handle it separately with minimal moisture and let it dry before returning it against the leather.
A simple supply check can prevent avoidable mistakes:
- One clean, soft cloth for dusting.
- One lightly damp cloth for the approved cleaner.
- One dry cloth for removing residue.
- A towel or protected surface for the bag to rest on.
This small setup keeps the process calm and helps you avoid reusing a cloth that has picked up dirt or dye.
Test the cleaning method before treating the bag
A patch test is not a formality; it is your best chance to catch a bad reaction while the damage is still limited. Test the cleaner, dilution, cloth, and pressure together because the method matters as much as the product. Give yourself enough time for the area to dry fully before judging it.
Select a hidden area for the patch test
Choose an inconspicuous place such as the underside of a flap, the base near a seam, or an interior leather tab. Avoid testing on a loose scrap unless it is the same material and finish as the visible panel. The hidden area should be clean enough that you can see a change clearly.
Apply a small amount of cleaner without oversaturating
Put the cleaner on the cloth rather than pouring it directly onto the bag. Press and wipe a very small area with the same gentle motion you intend to use on the rest of the handbag. Do not flood the patch, force liquid into stitching, or repeat the application several times.
Check for color bleeding, darkening, or finish changes
Watch for dye on the cloth, a darker halo, tackiness, cloudiness, roughness, or a change in gloss. Any of these signs means the method may be unsuitable. A clean-looking patch is not proof that the product is safe everywhere, but a visible reaction is a clear reason to stop.
Allow the test area to dry before proceeding
Let the area dry naturally in a cool room away from direct sunlight and heating vents. Some changes appear only after moisture evaporates, so do not make a decision while the patch is still damp. If the test passes, proceed slowly and continue watching the surface as you work.
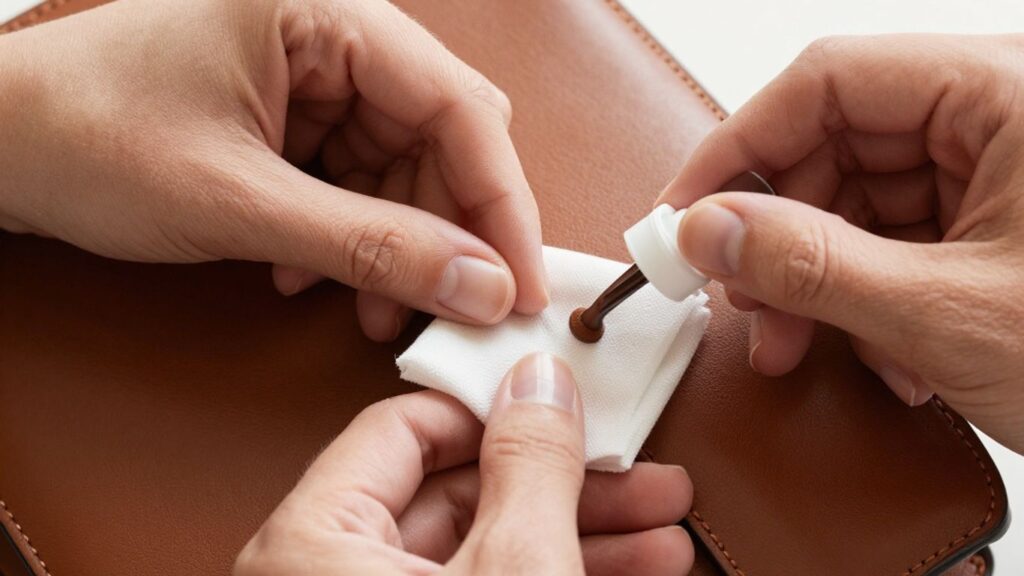
Clean the leather handbag step by step
Once the patch test is dry and acceptable, work methodically from the least aggressive step to the more involved one. Keep the bag supported, use small sections, and pause often to inspect the surface. A slow clean is far safer than trying to finish the entire handbag in one wet pass.
Remove dust and loose debris first
Empty every pocket and gently shake out loose particles. Use a soft dry cloth around seams, folds, and hardware, taking care not to drag grit across the leather. If the lining is removable or can be pulled out without force, clean it separately according to its material.
Work in small sections with a lightly damp cloth
Dampen a clean cloth very lightly and apply the approved cleaner to the cloth, not directly to the bag. Begin on a less visible panel and move across a section about the size of your hand. Overlapping small areas helps you keep the moisture and pressure consistent.
Use gentle circular motions without aggressive scrubbing
Use light, slow circles or short strokes, depending on the grain and the cleaner’s directions. Let the product do the work rather than pressing harder. Scrubbing can spread a stain, flatten texture, or create a brighter area where the finish has been rubbed.
Wipe away residue with a clean cloth
After each section, use a separate clean cloth to lift away remaining cleaner and loosened dirt. Rinse or replace the cloth as needed; a dirty cloth can simply redistribute grime. Check edges and seams for residue before moving on.
Let the handbag air-dry away from heat and sunlight
Leave the handbag open and supported in a well-ventilated room. Avoid hair dryers, radiators, heated vents, and strong sunlight, all of which can dry leather unevenly or alter its color. Do not condition or polish the bag while any part of it still feels cool or damp.
Treat common stains without damaging the finish
Stain removal requires more restraint than routine dusting. The longer a spill sits, the more tempting it is to scrub, but force can enlarge the mark and disturb the coating. Treat the smallest area possible, and accept that some stains are safer to leave for a specialist.
Blot fresh spills instead of rubbing them
Press a clean, dry cloth against a fresh spill to absorb it. Lift the cloth, move to a dry section, and repeat rather than wiping back and forth. Once the liquid is absorbed, let the area settle before deciding whether a tested cleaner is appropriate.
Handle oil and grease marks with extra caution
Oil can spread outward as it moves through leather, so avoid water, soap experiments, and vigorous rubbing. Blot only what remains on the surface and seek professional advice if the mark is large, old, or deeply absorbed. Home treatment may leave a larger darkened area than the original spot.
Remove ink and color-transfer stains selectively
Ink and denim transfer are especially difficult because the pigment may have bonded with the finish. Do not reach for alcohol or a household solvent. A professional cleaner is usually the safer choice for a valuable bag, while a minor surface mark should be approached only with a product that has passed a hidden patch test.
For more stain-specific context, this purse cleaning resource explains why mixed materials and intricate construction make handbags unusually difficult to treat.
Approach water spots and darkened areas gradually
Do not chase one water ring by wetting the entire panel unless the manufacturer specifically recommends that method. A very lightly damp cloth may help blend a minor surface mark on suitable finished leather, but repeated passes can deepen the damage. Allow each attempt to dry before deciding whether another is warranted.
Stop if the stain spreads or the finish begins to lift
Stop immediately if the color moves, the surface becomes tacky, the leather darkens sharply, or a coating starts to peel. Blot away any excess product without rubbing, then let the bag dry naturally. Continuing because the stain is still visible often turns a repairable mark into finish damage.
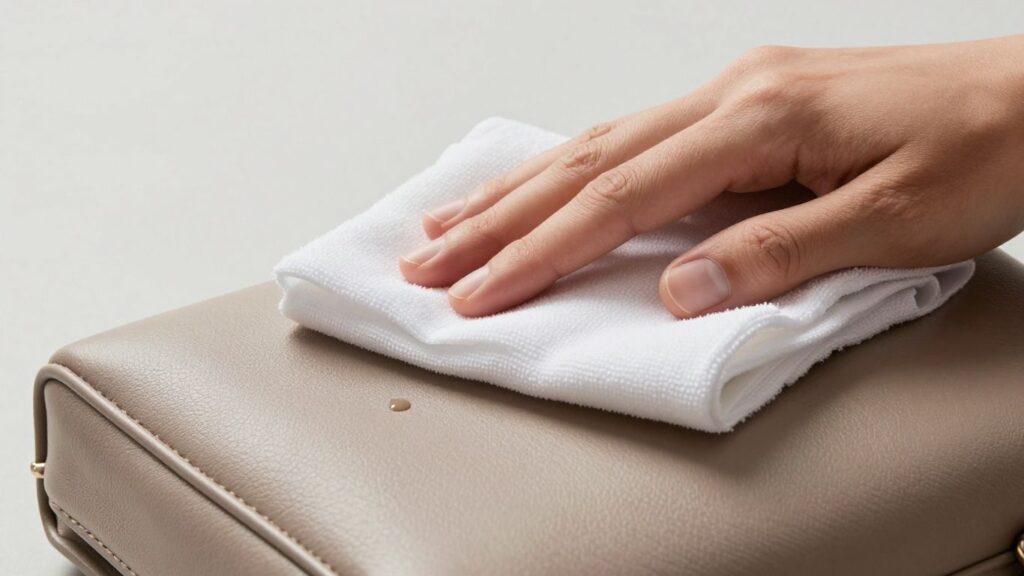
Condition, protect, and store the handbag properly
Cleaning removes surface dirt, but it does not automatically restore flexibility or protection. Conditioning and storage should come after the bag is fully dry and only when the material can accept those products. Use a light hand, since too much conditioner can darken leather, leave residue, or attract dust.
Apply a compatible conditioner sparingly
Choose a conditioner intended for the specific leather and test it just as you tested the cleaner. Apply a small amount to a cloth, then spread a thin, even layer rather than placing a blob on the bag. Suede, nubuck, patent, and some coated leathers may not need conventional conditioner at all.
If you are shopping for care products, Promo Deals can help you find available offers in one place, but a discount should never outweigh material compatibility. Read the label and keep the product information with the handbag’s care notes.
Buff the surface to restore an even appearance
After the conditioner has had the time recommended on its label, gently buff smooth leather with a clean, dry cloth. Use light strokes and stop once the surface looks even. Buffing is not meant to remove scratches or force shine into a matte finish.
Use leather protection only after the bag is fully dry
A protective spray can be useful for some finished leathers, but it must match the material and be patch-tested first. Apply it in a ventilated space according to the label, keeping it away from hardware and embellishments. Never layer protection over damp cleaner or conditioner.
Maintain the handbag with regular dusting and spot cleaning
Frequent light care is gentler than occasional deep cleaning. Dust the bag with a dry cloth, address spills promptly by blotting, and rotate how you carry it if one handle or corner receives constant friction. When you need to replace a care product, this smart buying guide is a useful reminder to compare fit and quality rather than choosing on price alone.
Store it stuffed, covered, and away from humidity and direct light
Support the shape with clean, acid-free tissue or a soft, colorfast insert, and store the bag in a breathable dust cover. Keep it upright or supported in a cool, dry cupboard away from radiators, windows, damp walls, and crowded shelves. Avoid sealed plastic bags, which can trap humidity and transfer odors.
Promo Deals is designed to gather discounts and price drops from across the internet, which can make it easier to locate a replacement dust cover or compatible care item when you need one. Still, careful storage and modest, regular maintenance will do more for the bag than buying a larger collection of products.
Conclusion
The safest handbag cleaning routine is careful and deliberately limited: identify the material, patch-test the method, use minimal moisture, and stop when the finish reacts. When the bag is valuable, fragile, or badly stained, professional cleaning is the kinder choice.
Frequently Asked Questions
Can you clean every leather handbag at home?
No. Finished leather may tolerate cautious surface cleaning, but suede, nubuck, patent leather, mixed-material bags, vintage pieces, and damaged finishes may need specialist care.
How often should you clean a leather handbag?
Dust it whenever needed and spot-clean small marks promptly. A deeper clean should be occasional and guided by the material, visible soil, and manufacturer’s instructions rather than a fixed schedule.
Can water damage a leather handbag?
Too much water can cause darkening, rings, stiffness, dye movement, or damage to adhesives and lining. Use only a barely damp cloth when the material and care guidance allow it.
What should you do if leather dye comes off on the cloth?
Stop cleaning that area and let it dry naturally. Dye transfer indicates that the method may be changing the finish, so further treatment is best handled by a professional.
Is household soap safe for leather?
Not automatically. Some finished leathers may tolerate a highly diluted mild soap, but household soaps can leave residue or remove surface oils. Use only when the care instructions permit it and patch-test first.
Can a hair dryer dry a wet leather handbag faster?
It should be avoided. Direct heat can dry the surface unevenly, harden the leather, or change its color and finish. Air-dry the bag away from heat and direct sunlight instead.
Should you condition leather after every cleaning?
No. Condition only when the leather and product are compatible, the bag is completely dry, and the surface needs it. Applying too much product can darken the bag and attract dirt.