
Key Takeaways
The right editor depends on how much control you want, how quickly you need a finished video, and where you plan to share it.
- Choose a simple editor when you mainly need to join clips, trim footage, and export quickly.
- Look for timeline and layer controls when your project includes several visual or audio elements.
- Check templates, effects, and aspect-ratio tools if you create regular social content.
- Consider device storage, export settings, and watermark policies before starting a large project.
- Test an app with a short project first so you can judge its workflow for yourself.
- 1. CapCut for fast, feature-rich video editing
- 2. InShot for simple video merging and social media edits
- 3. KineMaster for layered, advanced editing
- 4. VN Video Editor for precise timeline control
- 5. PowerDirector for professional-quality mobile projects
- 6. YouCut for lightweight editing without a watermark
- 7. Filmora for creative effects and easy clip combining
- 8. Adobe Premiere Rush for cross-device editing workflows
- 9. Canva for branded videos and ready-made templates
- 10. GoPro Quik for automatic edits and quick video merges
- Conclusion
- Frequently Asked Questions
- What should you look for in an Android video editing app?
- Can you merge videos recorded in different orientations?
- Is a watermark always included in a free video editor?
- How much storage does mobile video editing need?
- What export settings are best for social media?
- Should you edit with music or original audio first?
- How can you make merged clips feel smoother?
1. CapCut for fast, feature-rich video editing
If you want to move from raw clips to a polished edit without spending much time learning, this is a sensible place to begin. It suits quick projects where trimming, arranging, and adding a few finishing touches matter more than a complex production setup. The interface can feel busy at first, but that variety is useful once you know which controls you actually need.
For short social videos, start by putting your clips in story order and removing pauses before adding effects. That keeps the edit understandable instead of letting visual decoration lead the process. You can also compare the app with this video merger guide when you are deciding which controls matter most for your workflow.
The best results usually come from restraint. Pick one transition style, keep text readable, and preview the complete sequence before exporting. If you are editing on an older Android phone, a shorter timeline and modest export settings can also make the process feel less frustrating.
2. InShot for simple video merging and social media edits
When your main job is joining clips for a post, a straightforward editor can be more useful than a deep professional workspace. This option is aimed at quick social edits, so you can focus on the order of the footage, the crop, and the final pace. It is a practical fit for casual projects, travel clips, and short updates.
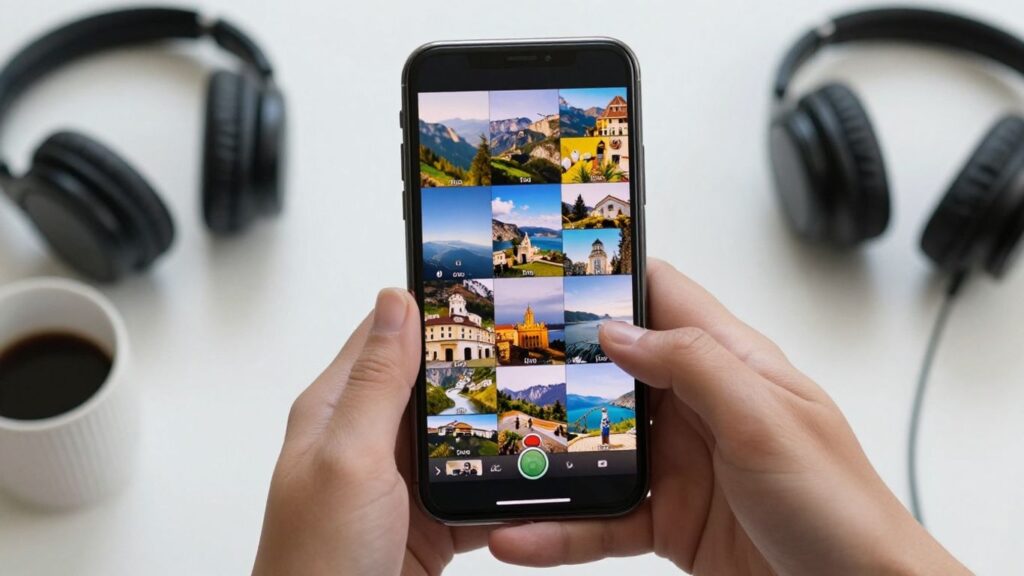
Before combining footage, check whether the clips use different orientations or proportions. A consistent canvas prevents awkward black bars and makes the finished video look more deliberate. If you need a reference for combining clips online, this video joining tool explains the basic process in accessible terms.
Keep your first project small. Merge three or four clips, make a clean cut between them, adjust the audio balance, and export a test copy. That quick trial tells you more about an app’s feel than a long list of features, especially when you only need a video ready for sharing.
3. KineMaster for layered, advanced editing
Layered editing becomes useful when your project contains more than a simple sequence of clips. You may want spoken audio under music, a visual overlay, or several elements that need to be timed independently. A more advanced layout takes longer to learn, but it gives you a clearer way to manage those relationships.
Start with the main video on the timeline, then add supporting elements one at a time. Naming or grouping your thinking around each layer helps you avoid moving several pieces when only one needs adjustment. It also makes later revisions less confusing.
This type of editor rewards patience. Instead of adding every available effect, build a clean version first and then refine timing, sound, and transitions. A clear timeline saves time because you can find the source of a problem without rebuilding the entire sequence.
4. VN Video Editor for precise timeline control
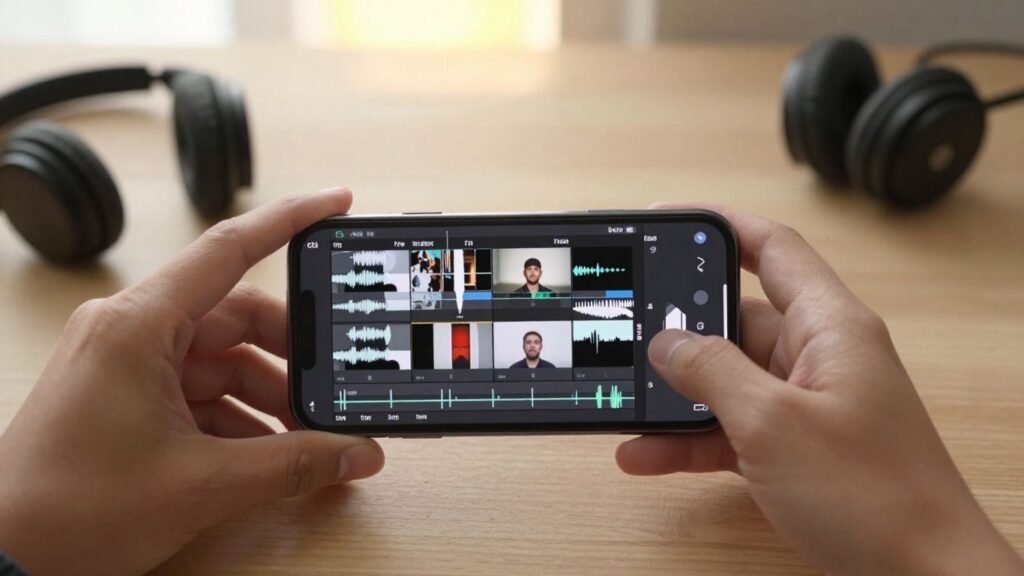
Precise timing matters when a cut needs to land on a beat, a line of dialogue, or a change in movement. A timeline-focused editor gives you room to make those small adjustments without relying only on automatic choices. It is particularly helpful when you are learning how pacing affects the mood of a video.
The following comparison can help you decide which part of an editing workflow deserves the most attention:
| Editing need | What to check | Why it matters |
|---|---|---|
| Joining clips | Reordering and trimming | Keeps the story easy to follow |
| Sound work | Volume and track timing | Prevents music from covering speech |
| Visual polish | Transitions and overlays | Adds continuity without clutter |
| Exporting | Resolution and file size | Balances quality with storage |
After making a cut, play a few seconds before and after it rather than judging only the exact frame. That wider view reveals abrupt movement, repeated audio, or a transition that feels too long. You will usually get a more natural result from several small corrections than one dramatic effect.
5. PowerDirector for professional-quality mobile projects
Some mobile projects need a more deliberate production process. You may be assembling an interview, a presentation, or a longer personal film where sound, pacing, and consistency matter throughout. In that situation, a fuller editing environment can be worth the extra learning time.
Plan the project before you start cutting. Decide which clips are essential, where the story changes direction, and what audio should carry the viewer from one scene to the next. A rough structure keeps you from polishing footage that will later be removed.
Export a short sample before committing to the final render. Check the picture on the phone where you edited it and, if possible, on another screen. That simple review can reveal audio levels, framing issues, or a file size that is inconvenient to share.
6. YouCut for lightweight editing without a watermark
A lightweight editor makes sense when you want to combine footage without turning a small task into a production project. You might be trimming a family recording, preparing a quick status update, or making a short clip for a private group. The fewer steps between import and export, the easier it is to finish.
For a quick workflow, keep these checks in order:
- Remove unwanted openings and endings before adding effects.
- Match the frame orientation to the place where you will share the video.
- Listen once with headphones to catch uneven volume.
- Export a short preview before rendering the complete file.
These checks are simple, but they prevent the most common avoidable mistakes. They also help you decide whether a lightweight tool is enough or whether your next project needs layers, detailed audio controls, or more export options.
If avoiding a watermark is part of your decision, confirm the current export behavior inside the app before beginning. Features and plans can change, and a quick check is safer than assuming an older description still applies.
7. Filmora for creative effects and easy clip combining
Creative effects can give a simple collection of clips a stronger visual identity, especially when you are making an introduction, a recap, or a short themed video. The key is to use them in support of the footage rather than as a substitute for editing. Start by joining the clips into a readable sequence, then add only the effects that improve the mood or clarify a change.
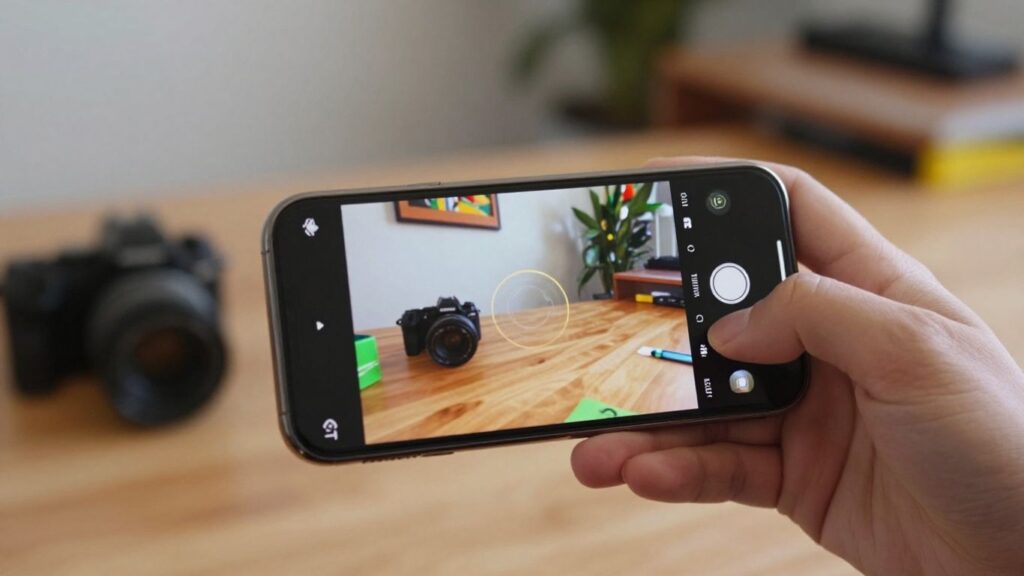
Try one visual idea at a time. A consistent color treatment, a restrained transition, or a well-timed title can be enough to make the project feel finished. Too many competing treatments make it harder for viewers to understand what deserves their attention.
Before export, watch the video without touching the controls. If your eye keeps catching the effect instead of the subject, simplify it. A polished edit often feels effortless because the creative choices are consistent, not because every clip has been heavily altered.
8. Adobe Premiere Rush for cross-device editing workflows
Cross-device editing is useful when a project starts on your phone but needs more attention later. You can capture footage away from your desk, make a rough arrangement, and return to the project when you have more time. That workflow suits creators who move between quick edits and longer review sessions.
Keep your files organized before you begin. Use clear names, avoid unnecessary duplicate exports, and leave enough free storage for temporary files. If you are also comparing phones for editing, you can browse current smartphone offers before choosing a device with the storage and battery life your routine requires.
A mobile-first workflow still benefits from a final quality check. Review the whole sequence after moving between devices, since framing, audio, or timing can feel different on another screen. The goal is not to edit everywhere at once, but to make each stage convenient.
9. Canva for branded videos and ready-made templates
Template-led editing can help when your videos need a consistent look from one post to the next. It is useful for recurring announcements, simple campaigns, event clips, and other content where layout and presentation need to stay recognizable. You can spend less time rebuilding the same visual structure each time.
Start by choosing a format that matches the destination, then keep the colors, type choices, and spacing consistent. Replace template elements with your own footage rather than adding more decoration on top. That keeps the result connected to your subject instead of making it feel like a generic preset.
Templates work best as a starting point, not a finished answer. Adjust the duration of each scene, remove anything that does not add information, and read every title at normal playback speed. Small edits make a ready-made design feel more personal and easier to watch.
10. GoPro Quik for automatic edits and quick video merges
Automatic editing can be helpful when you have many clips but very little time to arrange them. It gives you a quick first version that you can review before deciding whether a detailed manual edit is worthwhile. This approach is especially convenient for activity footage, trips, and casual recaps.
Treat the automatic result as a draft. Watch for clips that repeat the same moment, cuts that arrive too early, and music that changes the mood of the footage. Removing a few weak moments often improves the result more than adding another effect.
You should also keep the final destination in mind. A short vertical video, a wider family recap, and a longer archive copy may need different framing or export choices. Starting with an automatic sequence is convenient, but your review is what gives the finished merge a clear purpose.
Conclusion
The best Android Apps To Merge And Edit Videos are the ones that match your actual routine, whether you need a quick sequence, detailed timeline control, layered production, or a repeatable template. Begin with a short project, check the export, and choose the simplest workflow that gives you the result you want.
Frequently Asked Questions
What should you look for in an Android video editing app?
Focus on the tools you will use regularly: clip trimming, reordering, audio control, aspect-ratio choices, export settings, and any watermark policy that affects your finished file.
Can you merge videos recorded in different orientations?
Yes, but the result may include cropping, empty space, or reframing. Choose a final canvas first, then preview each clip to make sure the important subject remains visible.
Is a watermark always included in a free video editor?
No. Watermark rules vary by app, plan, and export setting, so check the current terms or run a short test export before completing a larger project.
How much storage does mobile video editing need?
You need room for the original clips, project data, previews, and the exported file. Longer footage and higher-resolution files require more free space, so clear unnecessary copies before editing.
What export settings are best for social media?
Use the aspect ratio and resolution recommended by the platform where you plan to share the video. A short test export helps you check clarity, cropping, sound, and file size.
Should you edit with music or original audio first?
Start with the audio that carries the story, such as speech or important natural sound. Add music afterward and lower it enough that the main audio remains easy to understand.
How can you make merged clips feel smoother?
Trim repeated movement, match the direction of nearby shots, keep transitions brief, and watch the sequence at full speed. Smooth editing usually comes from timing and consistency rather than numerous effects.