

Key Takeaways
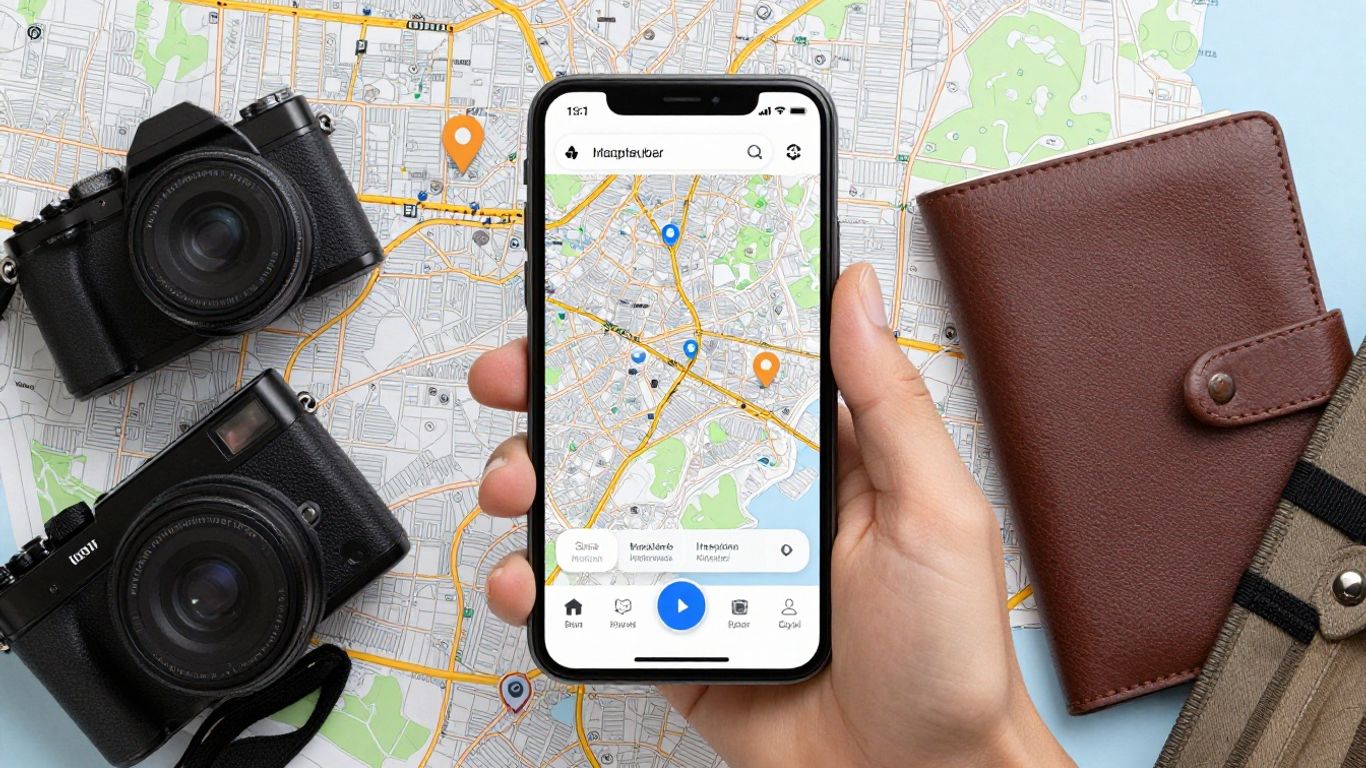
Your phone may already know where a photo was taken, even when the location is not visible in the image itself.
- Check the original file’s EXIF metadata before trying visual clues.
- Use your phone’s photo app to view a map or saved place.
- If GPS data is missing, inspect landmarks, signs, and surrounding geography.
- Treat online image-location results as clues rather than guaranteed answers.
- Remove or limit location data before sharing photos from private places.
Check the photo’s embedded location data
If you are wondering, “How to Know The Location of The Photo taken Using Your Smartphone?”, start with the photo file itself. Many smartphone cameras can save location information alongside the image when location access is enabled. That information is separate from the visible picture, so it can survive without appearing as a caption or label. Before using an online service, check what your phone has already recorded.
What EXIF metadata can reveal
EXIF metadata is a collection of technical details stored in some image files. Depending on the camera and settings, it can include the date and time, device information, image dimensions, and GPS coordinates. It may also help you distinguish an original camera file from a version that has been resized or exported.
The presence of EXIF data does not guarantee that every field is complete. A photo can retain the date but lose its coordinates, or contain a location that was added later by an app. Read the details as evidence about the file, not as an unquestionable record of the scene.
How GPS coordinates are saved in a photo
When a camera has permission to use the phone’s location, it can save latitude and longitude in the image’s metadata. A photo app can then translate those coordinates into a map position or a place name. The coordinates are usually stored inside the original file rather than printed into the picture.
That distinction matters when you send, edit, or download an image. Some workflows preserve the original metadata, while others create a new copy without it. If you need the strongest evidence, keep the untouched file and check it before making changes.
Find location details on an iPhone
On an iPhone, open the image in Photos and swipe up or tap the information button. If location data is available, you may see a map, a place name, or a location section with more detail. Tapping the map can help you compare the recorded point with the actual surroundings.
If nothing appears, check whether Location Services and camera location access were enabled when you took the picture. The absence of a map does not prove that the scene cannot be identified; it only means the file may not contain usable location information.
Find location details on an Android phone
On Android, open the image in your Gallery or Google Photos app and look for Details, Info, or the swipe-up panel. The exact wording varies by phone maker and app version, but a saved location commonly appears as a map, coordinates, or a place label.
If the image was downloaded, edited, or received through a service that removes metadata, the details may be incomplete. When possible, compare the same image with the original in the camera folder rather than relying on a forwarded copy.
Use your smartphone’s photo and map apps
Your photo library can be more useful than a separate search tool because it may organize images by date, place, album, or trip. Start with the app where the picture was originally saved, then move to a map only after you have found coordinates or a place label. This approach is quick and keeps the original file close at hand.
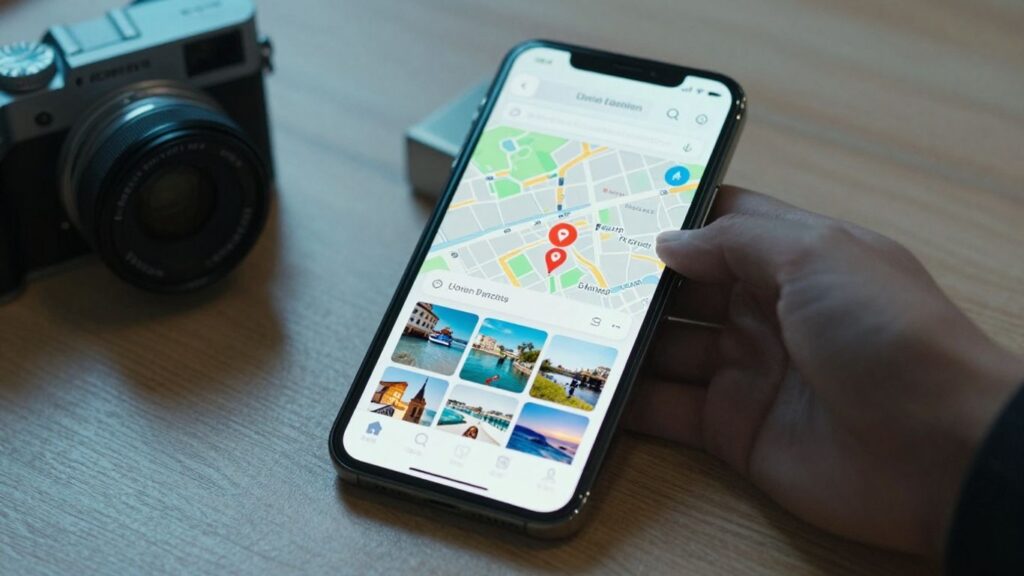
The same habits are useful when you are comparing camera phones or browsing mobile phone deals: location features depend on both the device and the permissions you give its apps. Check the actual image details rather than assuming every photo has been tagged.
View location information in Apple Photos
In Apple Photos, select a picture and swipe upward or tap the info control. A map or place label may appear beneath the image when the file has location data. You can also use the map view of your library to browse pictures associated with different places.
The map is a helpful starting point, but zoom in and check whether the marker falls where you remember being. A point near a large building, road, or park may describe the phone’s estimated position rather than the exact spot where you stood.
Check location details in Google Photos
In Google Photos, open the picture and swipe up to see its information panel. Depending on the file and your library settings, you may find a saved location, an estimated place, or no location at all. The app can also group images by dates and places, which is useful when you remember the trip but not the exact day.
An estimated place should be treated differently from GPS data embedded by the camera. Look for supporting clues in the image and compare the result with nearby streets or landmarks before treating it as confirmed.
Open photo coordinates in a map app
If you can see latitude and longitude, tap the location or copy the coordinates into a map app. The map gives you a fast visual check: you can see whether the point falls on a trail, inside a building, beside a road, or in a nearby neighborhood.
Use the map as a way to interpret the coordinates, not to improve their precision. A marker with several meters of uncertainty can still be useful for identifying a park or town, but it may not identify the exact doorway.
Search by date, album, or travel timeline
When there is no clear map marker, use the surrounding photos in your library. Images taken immediately before and after the target may show a ticket, landscape, restaurant, or other clue. Albums and travel timelines can also narrow the search to a specific day and area.
A simple sequence often works better than guessing from one frame. Group the pictures by time, note the places you already recognize, and then compare the uncertain image with that short list of possibilities.
Recover a location when GPS data is missing
A missing location field does not make a photo useless. You can still inspect what the camera captured: architecture, vegetation, road layout, mountains, coastlines, and readable words all provide context. The goal is to combine several modest clues instead of trusting one visual hunch.
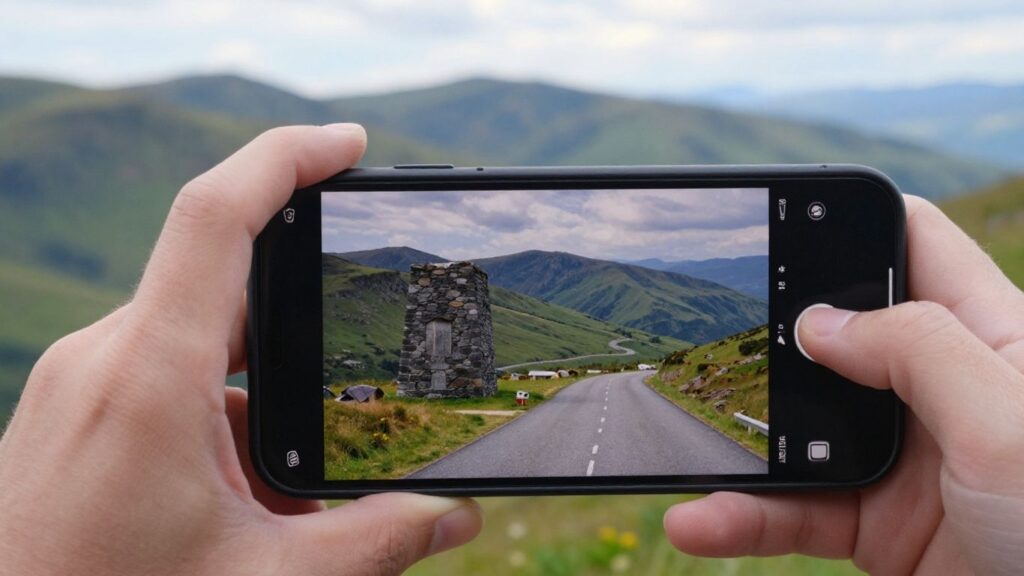
Identify landmarks, signs, and natural features
Begin with details that are distinctive and stable. A monument, unusual roofline, transit sign, storefront name, mountain profile, or coastline can reduce a broad search to a few likely places. Crop or zoom the image carefully, but keep a full copy so you do not lose the wider context.
Consider the less obvious clues as well. Road markings, utility poles, architectural materials, vegetation, shadows, and terrain can suggest a country or climate. None is conclusive on its own, but several pointing in the same direction make the result more credible.
Use visual search tools to analyze the image
Reverse image and visual search tools can compare a picture with indexed pages or recognize visible objects and landmarks. A public landmark may produce a direct match, while an ordinary street scene may return only visually similar images. Try a full image first, then a crop containing the most distinctive feature.
The Photo Location Finder can check for embedded GPS coordinates and also points toward alternatives such as reverse image search and visual clues when metadata is absent. That makes it useful as an early check, especially when you still have the original smartphone file.
Compare the scene with online maps and street imagery
Once you have a candidate place, compare its shape and surroundings with online maps or street-level imagery. Look for the same building angles, road bends, storefront arrangement, hill line, or tree placement. A match should explain several features at once, not just one familiar-looking facade.
Keep in mind that street imagery may be older than your photograph, and access can vary by country. If the scene has changed, stable features such as intersections, water edges, bridges, and hills are usually more useful than temporary signs or parked vehicles.
Check the original file instead of a screenshot
A screenshot may preserve the appearance of a photo while discarding the file’s metadata. The same can happen after an export, a social-media download, or some messaging workflows. If you received the picture from someone else, ask for the original file rather than another screenshot of it.
This is also a good moment to compare file dates and dimensions. A larger original with its camera-created filename may contain information that is missing from the copy in your gallery, although file names alone should not be treated as proof of location.
Use online photo location finder tools
Online tools can save time when you do not know which clue deserves attention first. Some inspect metadata, while others analyze visual content or compare the image with material available online. Uploading a file is still a privacy decision, so choose the smallest useful image and read the service’s handling information before continuing.
When an AI image finder can help
An AI image finder is most useful when the picture contains recognizable geography, architecture, or a landmark but no readable address. It may suggest a likely place from visual patterns, though ordinary interiors and generic roads are much harder. Treat the output as a lead that needs checking.
The AI Photo Finder is described as analyzing landmarks, scenery, and visual clues, including images where GPS metadata has been removed. Its result should still be compared with the scene itself, especially when several places share similar buildings or landscapes.
How reverse image search identifies places
Reverse image search looks for matching or related images already available online. It can work well for famous landmarks, hotel photographs, travel pages, and images that have been reposted many times. It is less dependable for a private snapshot that has never appeared on a public page.
Try more than one crop when the first search is vague. A crop of a building or mountain may be more informative than a frame filled with sky, people, or unrelated foreground objects.
Upload photos safely to third-party services
Before uploading, consider whether the image contains faces, children, a home interior, a workplace, or a location you would rather keep private. Use a duplicate with unnecessary metadata removed when the service only needs visual content. Avoid uploading a full-resolution original unless the extra detail is genuinely necessary.
Also check whether the service explains storage, deletion, and reuse. A convenient result is not worth exposing sensitive travel or home-location information without understanding how the file may be handled.
Compare results across multiple tools
Different tools can interpret the same image in different ways. One may read metadata, another may recognize a landmark, and a third may return visually similar scenes. Agreement is useful, but agreement can also reflect the same incorrect popular result being repeated.
Record what each result is based on: coordinates, a landmark match, a text clue, or a general visual estimate. The more independent evidence you have, the easier it is to separate a plausible answer from a confident guess.
Understand why a photo location may be inaccurate
A location attached to a photo is not always a survey-grade measurement. Phones estimate position using available signals, and apps may change or remove metadata during editing and sharing. Understanding those weak points helps you decide how much confidence to place in a map pin.

GPS errors in cities and indoor spaces
Tall buildings can interfere with satellite signals and create reflections that affect positioning. Indoors, a phone may rely more heavily on Wi-Fi, cellular signals, or a previously known position. The resulting point can be close to the true place while still being wrong by a noticeable distance.
A moving phone can also save a position from just before or after the shutter was pressed. For a city block or scenic area, that may be perfectly adequate. For a specific room, trail junction, or address, it may not be.
Location changes after editing or sharing
Editing an image can create a new file, and that new copy may not retain every field from the original. Export settings, cloud libraries, and sharing tools can each handle metadata differently. Keep the original separate when the location information matters.
A visible place label can also be added by an app after the photograph was taken. Check whether you are viewing camera metadata, a library estimate, or a manually assigned album location.
Screenshots, messaging apps, and social media compression
Screenshots generally capture pixels rather than the original file structure, so they are poor sources for EXIF location data. Messaging and social platforms may resize images or remove metadata during upload. A photo that looks identical on screen may therefore contain much less information than the original.
When investigating a shared image, ask how it was created and delivered. The answer can explain a missing GPS field before you spend time searching for a place that the file can no longer identify.
Differences between camera and app location settings
Location access is controlled by more than one setting. The phone’s general location service, the camera’s permission, and the photo app’s own behavior can all affect what is saved or displayed. A setting that works for navigation does not necessarily mean the camera tagged every image.
Review permissions at the time the photo was taken, not only today. Settings may have changed since then, and an update or privacy choice may explain why older photos contain locations while newer ones do not.
Protect your location privacy
The same data that helps you rediscover a holiday can reveal your home, workplace, school, or daily routine. Before sharing an original photo, decide whether the recipient needs its hidden location. A quick privacy check is especially worthwhile for images taken near places you want to keep private.
Remove GPS metadata before sharing photos
Use your phone’s sharing options or a trusted metadata-removal method to create a copy without location information. Confirm the result by checking the shared copy, not just the original. Removing metadata does not blur visible landmarks, so inspect the picture itself as well.
If you need to preserve the location for your own records, keep the original in a private library and share a cleaned duplicate. That gives you a useful archive without sending the coordinates along with every copy.
Review location permissions on your smartphone
Open your phone’s privacy settings and review which apps can access location. Camera, gallery, cloud-storage, and social apps may have different permission levels. Choose the narrowest access that still supports the feature you actually use.
You can also review location history and account-sync settings separately. A photo may be private as a file but still appear in a synchronized timeline or shared library.
Disable location tagging in the camera app
If you rarely need map-based photo organization, turn off location tagging in the camera settings or remove the camera’s location permission. The exact menu name varies, so search the phone’s settings for camera permissions or location tags.
Remember that disabling future tagging does not remove coordinates from older images. Review your existing library separately, particularly before sending a batch of travel or household photos.
Share images without revealing sensitive places
Crop out house numbers, school entrances, distinctive views, and other visual clues when they are not needed. Avoid posting a live image that reveals where you are if you will be away from home for an extended period. A private message is not automatically free of metadata or screenshots.
For practical phone and camera comparisons, you can also browse choosing the right iPhone, but the privacy decision remains yours: a newer phone may make location features easier to use, not necessarily safer to share.
Conclusion
To know the location of a smartphone photo, begin with the original file and its EXIF data, then use your photo library, a map, and visual clues in that order. Online tools can help when metadata is missing, but their suggestions need independent checks. Once you find the place, remember that the same location data can travel with the image, so share cleaned copies when privacy matters.
Frequently Asked Questions
Can every smartphone photo show where it was taken?
No. The camera may not have had location permission, or the file may have lost its metadata during editing, downloading, or sharing. Some photos can still be identified from visible clues even without GPS data.
Where is a photo’s location stored?
When available, location is usually stored as GPS information inside the image’s EXIF metadata. A photo app may read those coordinates and display them as a map or place name.
Can I find a location from a screenshot?
Sometimes, but usually not from metadata. A screenshot may still contain landmarks, signs, or other visual clues that you can investigate with maps or visual search.
Why is the map pin sometimes wrong?
Phones estimate position from available signals, and accuracy can decline indoors, near tall buildings, or while the phone is moving. The pin may identify the general area without marking the exact spot.
Does sending a photo remove its location data?
It depends on the app and sharing method. Some services strip metadata, while an original file sent through another method may retain it. Check the copy that the recipient will receive.
How can I check a photo’s GPS coordinates?
Open the image in your phone’s photo app and look for Info, Details, or the map section. If coordinates are shown, open them in a map app to inspect the surrounding area.
How can I protect my home location in a photo?
Remove GPS metadata before sharing, review visible clues such as house numbers and familiar views, and limit camera location permissions if you do not need automatic geotagging.