

Key Takeaways
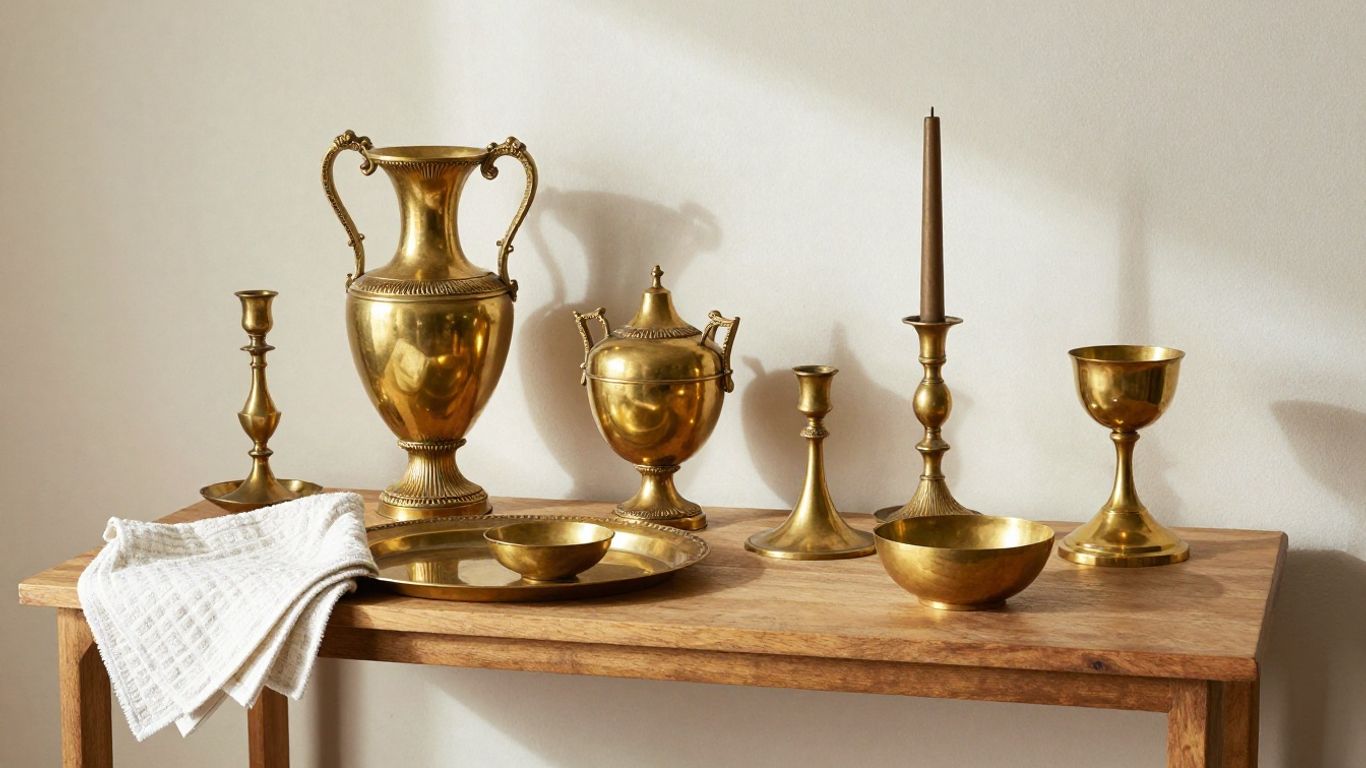
Brass stays attractive longer when you match the cleaning method to its finish and limit the conditions that speed oxidation.
- Identify whether the piece is lacquered, unlacquered, plated, or already damaged.
- Remove dust before using soap, vinegar, or a commercial brass cleaner.
- Test any product on a hidden area and use very light pressure.
- Reduce moisture, pollutants, fingerprints, and residue around the décor.
- Maintain a modest routine so you do not over-polish the surface.
- Understand why brass décor tarnishes
- Prepare brass décor for safe maintenance
- Clean existing tarnish without damaging the finish
- Apply protective treatments that slow tarnishing
- Control the environment around brass décor
- Maintain brass décor with a consistent care routine
- Conclusion
- Frequently Asked Questions
Understand why brass décor tarnishes
Brass décor changes gradually because its exposed surface reacts with the surrounding air and moisture. The result may be a soft dullness, darker patches, or a greenish patina, depending on the environment and the finish. When you understand what you are seeing, you can choose a safer response instead of polishing automatically. This is the foundation of learning How to Reduce Tarnishing on Brass Décor without stripping away its character.
How oxidation changes the appearance of brass
Oxidation is a surface reaction that alters brass’s bright yellow-gold appearance. A recently polished object may become muted first, then develop uneven brown or green tones as exposure continues. Tarnish is usually a surface condition rather than a sign that the entire object has deteriorated, so gentle cleaning may be enough when the finish remains intact.
A useful overview of common causes and prevention methods is available in this brass tarnish guide. Use it as background, but judge your own piece by its finish, age, and condition before choosing a treatment.
The role of humidity, air pollutants, and handling
Humidity gives surface reactions more opportunity to develop, especially in bathrooms, kitchens, coastal homes, and poorly ventilated storage areas. Airborne pollutants can also darken brass, while salts and oils from your hands leave concentrated residue wherever you touch the object. Frequent handling does not guarantee damage, but it can create fingerprints that tarnish faster than untouched areas.
You can often slow the process simply by moving a piece away from damp air and wiping it after handling. Prevention is less aggressive than repeated polishing, and it preserves more of the original surface.
Lacquered, unlacquered, and plated brass differences
Lacquered brass has a clear protective layer that separates the metal from much of the air and moisture. Unlacquered brass is exposed and will naturally change color, while plated brass has a thin brass layer over another material. These categories can look similar at first, but they do not tolerate the same cleaning pressure or products.
A cleaner that is acceptable for solid, unlacquered brass may cloud lacquer or wear through plating. If a magnet, manufacturer note, or construction detail suggests the item is plated, treat it as delicate and avoid trying to polish it back aggressively.
How to identify tarnish versus permanent damage
Tarnish usually appears as a removable film, uneven darkening, or a dull layer that changes when wiped with a soft cloth. Permanent damage may include pitting, flaking lacquer, exposed base metal, deep scratches, or areas where plating has worn away. Cleaning can improve the appearance of tarnish, but it cannot recreate missing plating or a damaged coating.
When the surface feels rough or the color changes sharply at an edge, stop and inspect it under good light. That pause can prevent a small cosmetic problem from becoming a restoration job.
Prepare brass décor for safe maintenance
Preparation keeps a simple cleaning task from becoming an accidental refinishing project. Before you wet the piece, identify its finish, remove loose dust, and choose supplies that match the material. Keep your work area clean and well lit so you can see whether the surface is improving or wearing away. For shoppers comparing supplies, home décor deals can be a convenient place to browse offers without rushing into a purchase.
Checking the finish before cleaning
Look for a uniform clear film, worn edges, exposed darker metal, or decorative details that may be plated. Check the underside and any existing care label first. If the piece is antique, valuable, hand-finished, or structurally fragile, document its condition with a photograph before doing anything more than dusting.
A finish that is already cloudy or peeling needs a different decision from ordinary tarnish. In that situation, cleaning may highlight the damage rather than solve it.
Gathering suitable tools and gentle supplies
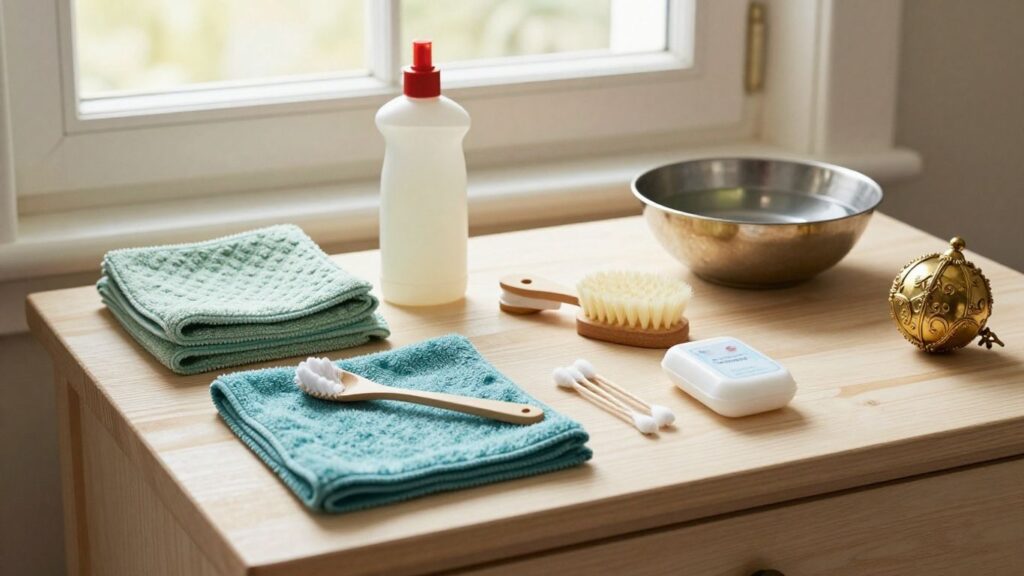
Start with a soft microfiber cloth, mild dish soap, lukewarm water, cotton swabs, and a dry towel. A soft toothbrush can help with crevices, provided you use it without force. Keep separate cloths for dirty wiping and final drying so loosened residue does not get spread across the surface.
Choose supplies for control rather than intensity. You rarely need a large collection of products, and a small, orderly setup makes it easier to stop when the finish begins to look clean.
Testing products on an inconspicuous area
Apply a small amount of the chosen solution to the underside or another hidden section. Leave it only as long as the instructions require, wipe it away, and inspect the color and sheen from several angles. If the test spot becomes lighter, hazier, or streakier than the surrounding brass, do not continue.
Promo Deals gathers offers and price drops from across the internet, which can help you compare cleaning supplies more conveniently; still, the lowest price is not a reason to skip a finish test. Product selection should begin with the material, not the promotion.
When to avoid abrasive cleaners and polishing compounds
Avoid abrasive powders, rough sponges, steel wool, and forceful polishing when the brass is plated, lacquered, antique, or textured. These materials can remove a thin surface layer and leave bright but permanently altered patches. Strong compounds are especially risky around engraved details, seams, and edges.
If you cannot identify the finish or the object has sentimental or financial value, use dry dusting only until you can get appropriate advice. Restraint is often the safest maintenance choice.
Clean existing tarnish without damaging the finish
Cleaning works best as a gradual process rather than a test of endurance. Remove loose residue first, use the mildest method that fits the finish, and inspect between passes. You are trying to lift surface grime and tarnish, not force the metal to look newly manufactured. A gentle approach also makes it easier to preserve patina that may be part of the décor’s appeal.
Removing dust and surface residue first
Use a dry microfiber cloth to lift dust from broad surfaces, then use a soft brush or cotton swab around grooves. This step matters because grit can act like sandpaper once moisture and pressure are added. If the object has loose parts, remove or secure them before wiping so water does not enter joints.
For a washable, unlacquered piece, follow with a cloth lightly dampened with diluted mild soap. Keep the cloth damp rather than wet, and work in small areas so you can see the result.
Choosing between soap, vinegar, and commercial cleaners
Mild soapy water is the safest starting point for many stable finishes because it removes residue without aggressively changing the metal. Diluted vinegar may help with some unlacquered brass, but its acidity makes a small test especially important, and it should not be assumed safe for lacquer or plating. Commercial cleaners can be useful when their instructions specifically match the finish.
A practical comparison helps you decide where to begin:
| Method | Best starting use | Main caution | Follow-up |
|---|---|---|---|
| Mild soapy water | Surface dust and household residue | Do not soak the piece | Rinse lightly and dry |
| Diluted vinegar | Tested, unlacquered brass | Avoid sensitive coatings | Neutralize residue with water |
| Commercial brass cleaner | Compatible, persistent tarnish | Follow label directions | Test and buff gently |
Choose the least aggressive option that produces a clean, even result. A tested guide to cleaning brass methods may offer additional ideas, but household experiments should never replace a finish check.
Using light pressure on detailed or textured pieces
Work with the contours rather than against them. Fold the cloth to create a clean edge for narrow grooves, and use cotton swabs where a larger cloth would catch. Let the solution soften residue instead of scrubbing harder; repeated light passes are safer than one forceful pass.
For heavily detailed objects, stop when the dirt is removed even if the surface is not perfectly bright. A little remaining patina is preferable to flattened texture or worn plating.
Rinsing and drying brass thoroughly
Remove cleaner with a clean, barely damp cloth, then wipe again with fresh water if the product instructions call for rinsing. Do not leave acidic or soapy residue in crevices. Dry the piece immediately with a soft towel and allow hidden joints to air out before returning it to display.
Once dry, inspect the object in natural light. Streaks often indicate leftover product, while persistent dark spots may indicate tarnish that needs a separate, cautious treatment rather than more pressure.
Apply protective treatments that slow tarnishing
A protective treatment can reduce how often you need to clean brass, but it is not automatically right for every decorative object. The finish, handling frequency, and desired appearance all matter. Some people prefer the natural change of unlacquered brass, while others want a more stable polished look. Decide what you want the piece to look like before applying anything permanent.
When brass wax or polish is appropriate
Wax or polish may suit stable, unlacquered brass that you handle occasionally and can inspect easily. Apply a thin layer, work in a ventilated area, and buff according to the product directions. Too much product can collect in engraving and leave a cloudy film, so a small amount is usually easier to control.
Avoid using polish as a substitute for identifying the finish. If the object is lacquered or plated, a polishing product may do more harm than the tarnish you hoped to remove.
Using clear lacquer on suitable décor
Clear lacquer can be considered for clean, dry, stable brass décor that you want to shield from air, moisture, and fingerprints. The surface must be free of residue before application, because a coating can trap marks underneath. Spray or brush application should follow the product’s directions, with suitable ventilation and protection for nearby surfaces.
Do not coat a piece casually if it has an established antique finish, moving parts, heat exposure, or a surface that is already flaking. A coating decision is difficult to reverse cleanly.
Understanding the benefits and drawbacks of coatings
A coating can reduce routine polishing and slow contact-related discoloration, but it may alter sheen or make future repairs more complicated. Edges and high-touch points can still wear first, and an imperfect application may show as runs, bubbles, or uneven gloss. Coatings also need a clean foundation, so they cannot hide deep corrosion reliably.
The brass protective coating information describes a product designed to protect brass and reduce fingerprints. Use any manufacturer guidance as the authority for application, compatibility, and curing rather than treating a coating as universally suitable.
Allowing protective products to cure properly
Keep the piece untouched for the full curing period stated on the label. Do not stack, wrap, handle, or return it to a humid room while the surface is still soft. Even if it feels dry, the coating may need more time before it can withstand normal contact.
When curing is complete, inspect edges, recesses, and high-touch areas. A careful first inspection helps you catch uneven coverage before the décor goes back into regular use.
Control the environment around brass décor
The room around your brass can matter as much as the cleaning method. Moisture, airborne chemicals, residue, and repeated touching create conditions that encourage faster discoloration. Small changes to placement and storage often reduce the need for intervention. Think of environmental control as quiet maintenance that works between cleanings.

Reducing exposure to moisture and humidity
Keep brass away from direct splashes, steamy windows, damp bathroom corners, and vases that may leak onto a tray. In humid rooms, ventilation and a stable indoor climate can help. Wipe condensation and spills promptly rather than allowing moisture to sit beneath the object.
Do not place brass directly on a damp surface. A dry, breathable pad can separate the underside from moisture while still allowing you to check for residue.
Keeping brass away from chemicals and pollutants
Cleaning sprays, chlorine products, perfumes, smoke, and some rubber or plastic materials can leave reactive residue near brass. Store décor away from areas where household chemicals are mixed or sprayed. When cleaning the surrounding furniture, let the surface dry before putting the brass back in place.
If an object is displayed near a cooking area or fireplace, inspect it more often because airborne residue can accumulate quickly. Gentle dusting removes some of that residue before it becomes a stubborn film.
Preventing contact with skin oils and household residue
Hold brass with clean, dry hands or use soft cotton gloves for pieces that show fingerprints easily. If gloves reduce your grip, handle the object with a clean cloth instead. Pick up ornaments by sturdy areas rather than thin decorative projections.
For frequently handled pieces, keep a soft cloth nearby and wipe visible marks early. Early, gentle wiping is much less damaging than repeatedly polishing a darkened fingerprint pattern.
Improving storage conditions for seasonal pieces
Clean and dry brass before storing it, then wrap it in acid-free tissue or a soft, non-abrasive material. Choose a dry cabinet with stable temperature and avoid airtight plastic if condensation may form inside. Do not store several pieces so tightly that they rub against one another.
Labeling the storage package with the finish and last care date can prevent guesswork next season. It also reminds you to inspect the piece before displaying it again.
Maintain brass décor with a consistent care routine
A sustainable routine is short, repeatable, and adjusted to the object’s surroundings. You do not need to polish every brass surface on a fixed calendar if some pieces stay clean while others face moisture or frequent handling. Inspect first, clean only when needed, and stop as soon as the surface looks even. This approach protects both the décor and your time.
Establishing a cleaning schedule based on exposure
Check high-exposure pieces monthly and quieter decorative objects every few months. A bathroom accent or frequently handled tray may need a quick wipe more often than a sculpture in a dry cabinet. Record what you notice so the schedule follows real conditions rather than habit.
If tarnish returns quickly after cleaning, look for an environmental cause before choosing a stronger product. Moving the piece may solve more than another round of polishing.
Handling pieces without leaving fingerprints
Wash and dry your hands before moving brass, and support larger pieces from underneath. Avoid gripping polished faces or decorative edges. After repositioning an item, inspect it for marks and wipe them with a clean microfiber cloth before they sit on the surface.
These small habits are especially useful for unlacquered brass, which responds quickly to oils and salts from skin. They also reduce the amount of corrective cleaning later.
Removing tarnish early instead of over-polishing
Treat a light film when you first notice it, using the mildest tested method. Waiting until the surface is heavily darkened can tempt you to scrub, use too much compound, or repeat the process too many times. Early care keeps the work controlled and makes the original finish easier to read.
For practical purchasing, Promo Deals brings offers and price drops together in one destination, which may help when you need replacement cloths or suitable care supplies. Compare the product instructions and material compatibility before considering the discount.
Knowing when professional restoration is the safer option
Seek professional advice when plating is missing, lacquer is peeling, corrosion is deep, the object is valuable, or the finish is historically significant. A restorer can assess whether cleaning, stabilization, refinishing, or no intervention is appropriate. Stop home treatment if the surface changes unpredictably or a test area looks worse.
Professional restoration may cost more than a household cleaner, but it can prevent irreversible loss. When the object matters, preserving the remaining finish should take priority over achieving an instant shine.
Conclusion
Brass décor is easiest to protect when you treat tarnish as a surface and environment issue, not a reason to polish harder. Identify the finish, clean with restraint, reduce moisture and residue, and inspect pieces regularly so small changes stay manageable. With that steady approach, your brass can keep its intended character while requiring less disruptive care.
Frequently Asked Questions
What causes brass décor to tarnish?
Brass reacts with oxygen, moisture, pollutants, and residue such as skin oils. Humid rooms and frequent handling can speed visible discoloration.
Is tarnish on brass permanent?
Often, tarnish is a removable surface layer. Pitting, worn plating, deep scratches, and peeling lacquer are forms of damage that cleaning may not reverse.
Can you clean lacquered brass with vinegar?
Vinegar may damage or cloud some protective finishes. Avoid using it on lacquered brass unless the finish manufacturer specifically approves it.
How often should brass décor be polished?
Polish only when inspection shows that dusting and gentle cleaning are no longer enough. The right interval depends on humidity, handling, pollutants, and the item’s finish.
Does clear lacquer stop brass from tarnishing completely?
A suitable, properly applied coating can slow exposure-related tarnishing, but it can wear, fail at edges, or become damaged. It is not a permanent guarantee.
How should brass décor be stored?
Store clean, dry pieces in a stable, dry location with soft, non-abrasive wrapping. Avoid damp surfaces, rubbing between objects, and packaging that can trap condensation.
When should you stop cleaning brass yourself?
Stop when plating is worn, lacquer is peeling, corrosion is deep, or the object is valuable or historically important. Professional assessment is safer than repeated experimentation in those cases.