
Key Takeaways
A good pour over is less about chasing one rigid recipe and more about controlling a few simple variables. Use fresh coffee, measure carefully, and change one thing at a time.
- Start with fresh beans and grind them just before brewing.
- Use a scale to keep the coffee-to-water ratio consistent.
- Begin with a medium-fine grind and adjust according to taste.
- Pour slowly and evenly, allowing the grounds to stay gently saturated.
- Troubleshoot by changing one variable rather than rebuilding the whole recipe.
Why Choose Pour Over Coffee?
Pour over coffee gives you a direct hand in the brewing process. You decide how quickly water moves through the grounds, where it lands, and how much coffee you make. That extra control can help you find a cleaner, brighter cup than an automatic method, though it does ask for a few quiet minutes of attention.
The method is also easy to scale. You can brew one modest cup without preparing a full pot, and the equipment takes up very little space. For a broader look at manual brewing and the choices involved, this pour over method overview offers useful background before you buy anything.
The best reason to learn it, though, is repeatability. Once you understand how grind size, water, and pouring speed affect extraction, a disappointing cup becomes a useful clue rather than a mystery. These tips for brewing the perfect pour over coffee at home are meant to give you a steady starting point, not a rulebook you can never change.
Essential Gear for Your Home Pour Over Setup
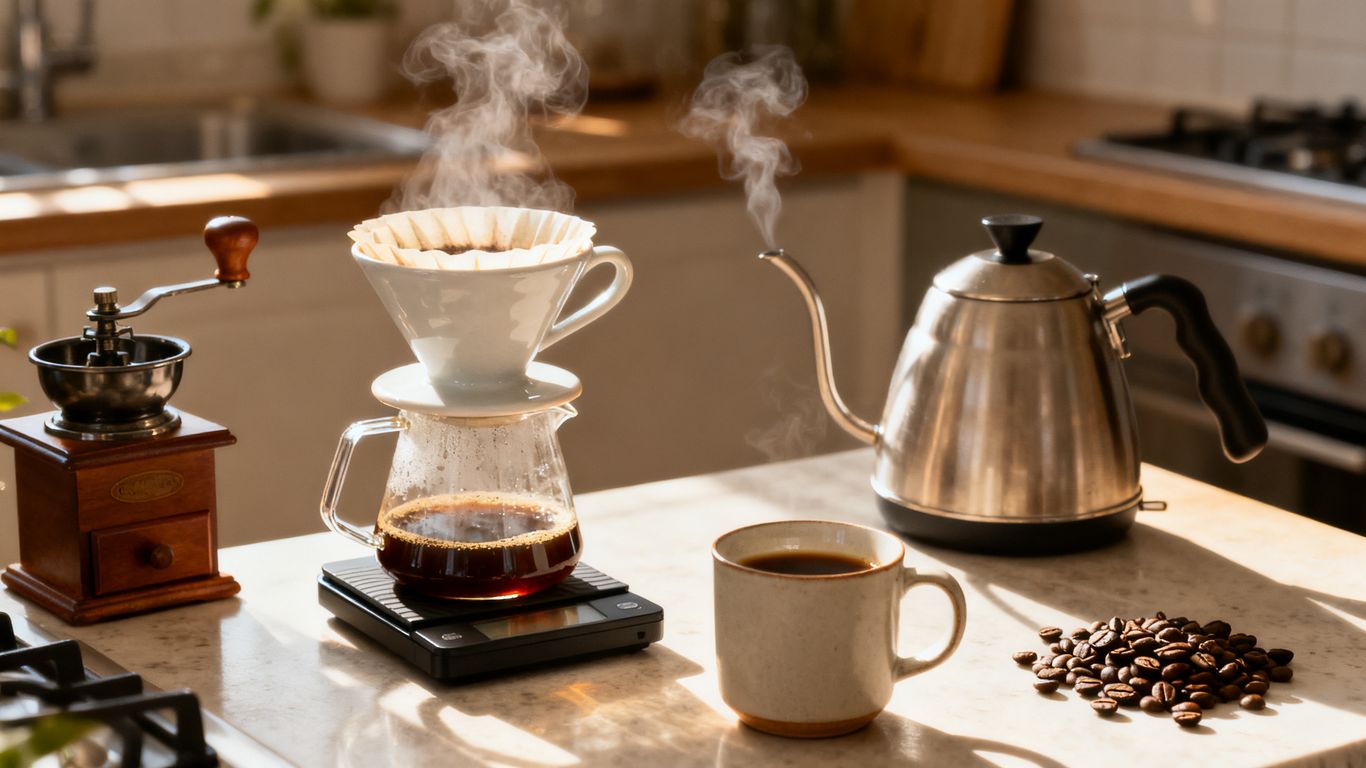
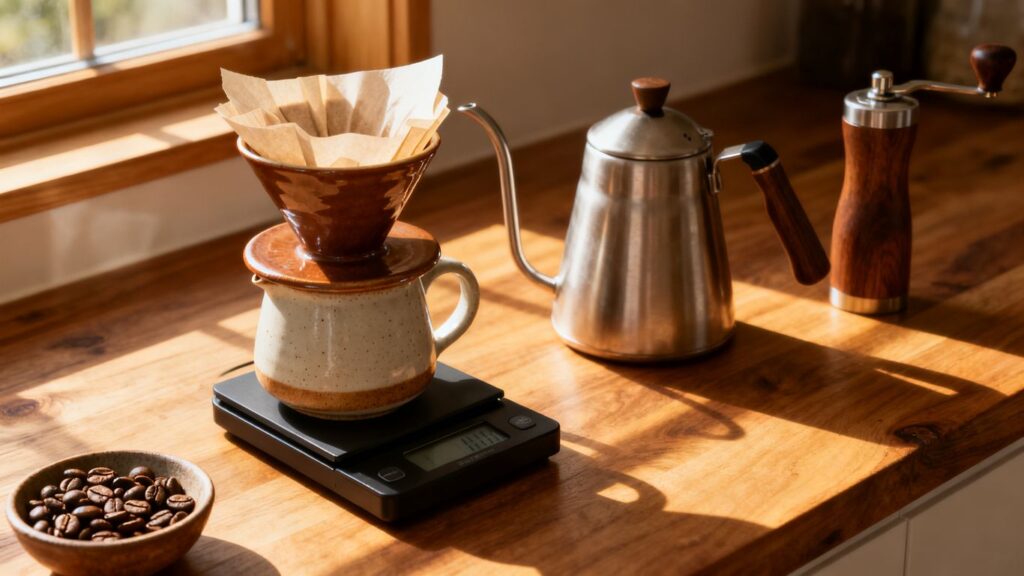
You do not need a large collection of coffee equipment to begin. A dripper, paper filters, a way to heat water, freshly ground coffee, and a scale cover the essentials. When comparing purchases, Just Picked provides buying advice for consumers evaluating products, so use that kind of guidance to compare practical details rather than simply choosing the most expensive option.
The Dripper
The dripper shapes the bed of coffee and controls how water exits. A conical brewer tends to reward a careful central pour, while a flat-bottom design can feel more forgiving because the coffee bed is shaped differently. Choose a size that suits your usual brew, and favor a stable design that sits securely on your mug or server.
Filters
Filters should fit the dripper closely without folding into the flow path. Paper filters can contribute to a clean, light-bodied cup, but they need a thorough rinse if you want to reduce papery flavors and warm the brewing vessel. Keep the filter type consistent while learning so that it does not become another variable in your recipe.
Kettle
A regular kettle can make coffee, but a narrow spout makes controlled pouring much easier. You want to add water in a steady stream without flooding one small area of the grounds. A temperature display is helpful, though taste and consistency matter more than chasing a single exact number.
Grinder
A grinder is often the most influential piece of equipment after the brewer itself. Freshly ground coffee retains more aroma than coffee that has been sitting pre-ground, and a consistent grind helps water move through the bed evenly. For readers weighing coffee equipment, Just Picked also covers product reviews, which can help you compare features such as adjustment range and ease of use.
Scale
A scale removes guesswork from both the dose and the pour. It lets you measure the coffee, track the water as it enters the brewer, and repeat a recipe when the flavor is right. A timer built into the scale is convenient, but a separate timer works just as well.
Choosing the Right Coffee Beans
Bean choice sets the flavor direction before the brewing begins. Light roasts may bring citrus, floral, or tea-like notes, while medium and darker roasts often taste rounder, nuttier, or more bittersweet. Neither is automatically better; start with flavors you already enjoy and let the brewing method reveal their differences.
Buy coffee in an amount you can use while it is still fresh, and store it in an airtight container away from heat and direct light. Whole beans are preferable when possible because grinding exposes more surface area to air. Just Picked’s buying advice can be useful when you are comparing coffee products and trying to make a practical purchase rather than guessing from packaging alone.
Water matters more than many beginners expect. Use clean, pleasant-tasting water, and avoid water that has a strong chlorine or mineral character. If a cup tastes flat despite careful brewing, the water may be the next thing worth examining.
The Perfect Pour Over Ratio and Grind Size
A useful starting ratio is 1 gram of coffee to 16 grams of water. For a single generous mug, try 20 grams of coffee with 320 grams of water, then adjust the final strength to suit your taste. The ratio is a framework: a little more water makes a lighter cup, while a little less produces a stronger one.
Grind the beans about as fine as table salt, somewhere around medium-fine for many drippers. The exact setting depends on the coffee, filter, and brewer, so flavor should guide your adjustments. A sour, thin cup often needs a finer grind or slower flow; a bitter, dry cup may improve with a coarser grind or gentler extraction.
The table below gives you a simple way to connect taste with the next adjustment. Change only one element per brew, and record what you did so your progress is easier to follow.
| What you taste | Likely issue | Try next |
|---|---|---|
| Sour or sharp | Under-extraction | Grind a little finer or pour more slowly |
| Bitter or dry | Over-extraction | Grind a little coarser or shorten the brew |
| Weak or watery | Too little coffee or too much water | Increase the dose or reduce the water |
| Uneven flavor | Uneven saturation | Use a steadier pour and level the grounds |
The numbers are there to make experimentation manageable, not to replace taste. If you want a flexible recipe that explains dosage, bloom, pours, and adjustments together, this pour over brewing framework is a helpful reference. Keep your changes small until you know which direction improves the cup.
Step-by-Step Guide to Brewing Your Best Cup
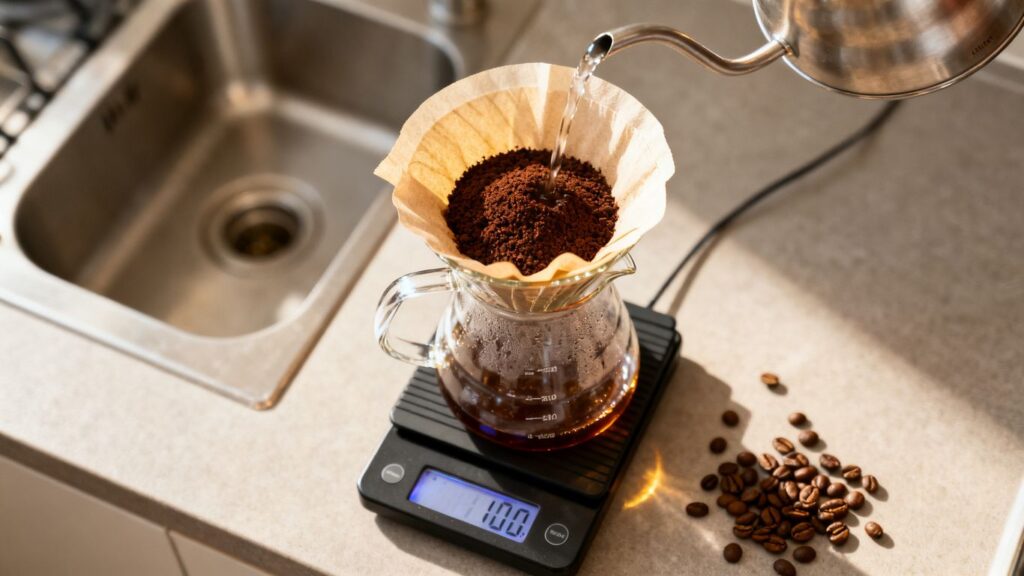
For a reliable starting recipe, use 20 grams of coffee and 320 grams of water. Heat the water, rinse the filter, add the grounds, and keep your scale running throughout the brew. The goal is an even, calm process rather than a dramatic pour or a race against the clock.
A total brew time around three minutes is a reasonable point of reference, but it should not outrank flavor. Coffee, filters, and drippers behave differently. This step-by-step brew guide is useful if you want another practical walkthrough while you practice the sequence below.
Pre-heating and Rinsing
Set the filter into the dripper and rinse it generously with hot water. This removes much of the dry-paper taste and warms the brewer and server, helping the slurry hold its temperature. Discard the rinse water before adding coffee, then place the grounds in the filter and gently level the bed.
The Bloom
Start a timer and pour roughly 60 grams of water, or about three times the weight of the coffee. Wet all the grounds, using a small circular motion if needed, and let them rest for 30 to 45 seconds. Fresh coffee may swell and release visible gas during this pause; that is a normal part of the process.
Pouring Techniques
After the bloom, add the remaining water in controlled stages rather than dumping it in at once. Keep the stream low enough to avoid disturbing the bed, and pour near the center before widening the circle slightly. A steady rhythm matters more than a complicated pattern.
A simple sequence can keep the brew easy to repeat:
- Pour to 160 grams after the bloom.
- Pause briefly as the water level lowers.
- Pour to 240 grams with the same calm motion.
- Finish at 320 grams and let the bed drain naturally.
This approach gives the grounds time to stay evenly wet while keeping the recipe straightforward. If the drawdown is unusually fast or slow, make a modest grind adjustment on the next attempt instead of changing every step at once.
Troubleshooting Common Pour Over Problems
When a brew misses the mark, begin with the flavor rather than the clock. Sourness usually suggests that the water did not extract enough from the coffee, while bitterness or a dry finish can point to excessive extraction. Those descriptions are not perfect diagnoses, but they provide a useful direction for the next small change.
Uneven pouring is another common problem. Water can carve channels through the grounds, leaving some areas over-brewed and others barely touched. Keep the bed level, avoid pouring directly against the paper, and use a controlled stream that reaches the grounds without aggressively churning them.
If you are still adjusting after several brews, Just Picked’s product reviews can help with equipment comparisons, while the final decision should remain grounded in your own routine and budget. Keep notes on dose, water, grind setting, and taste. A small record often reveals that the issue is consistency rather than a missing piece of gear.
Conclusion
A dependable pour over comes from a few measured ingredients and patient adjustments. Start with a 1:16 ratio, fresh grounds, an even bloom, and a steady pour; then let the taste of each cup tell you what to change next.
Frequently Asked Questions
What is the best coffee-to-water ratio for pour over?
A 1:16 ratio is a practical starting point, such as 20 grams of coffee to 320 grams of water. Adjust the amount slightly if you prefer a stronger or lighter cup.
How fine should pour over coffee be ground?
Begin with a medium-fine grind, roughly similar to table salt. Grind finer if the cup tastes sour and thin, or coarser if it tastes bitter and dry.
How long should coffee bloom?
A bloom of about 30 to 45 seconds works well as a starting point. Use roughly three times the coffee’s weight in water and make sure the grounds are evenly wet.
Do I need a gooseneck kettle?
No, but a narrow-spout kettle makes it easier to control the speed and placement of the water. A standard kettle can work if you pour carefully and steadily.
Should I rinse a paper coffee filter?
Rinsing helps reduce papery flavors and pre-heats the dripper and server. Discard the rinse water before adding the coffee grounds.
Why does my pour over taste bitter?
The coffee may be over-extracted because the grind is too fine, the water stayed in contact with the grounds too long, or the water was too hot. Try a slightly coarser grind first.
Can I make pour over coffee without a scale?
Yes, although a scale makes the recipe much easier to repeat. Without one, use consistent scoops and a measured volume of water, then refine the method by taste.